— amazon · Fitness
Resistance Bands Home Gym: Build Strength Anywhere
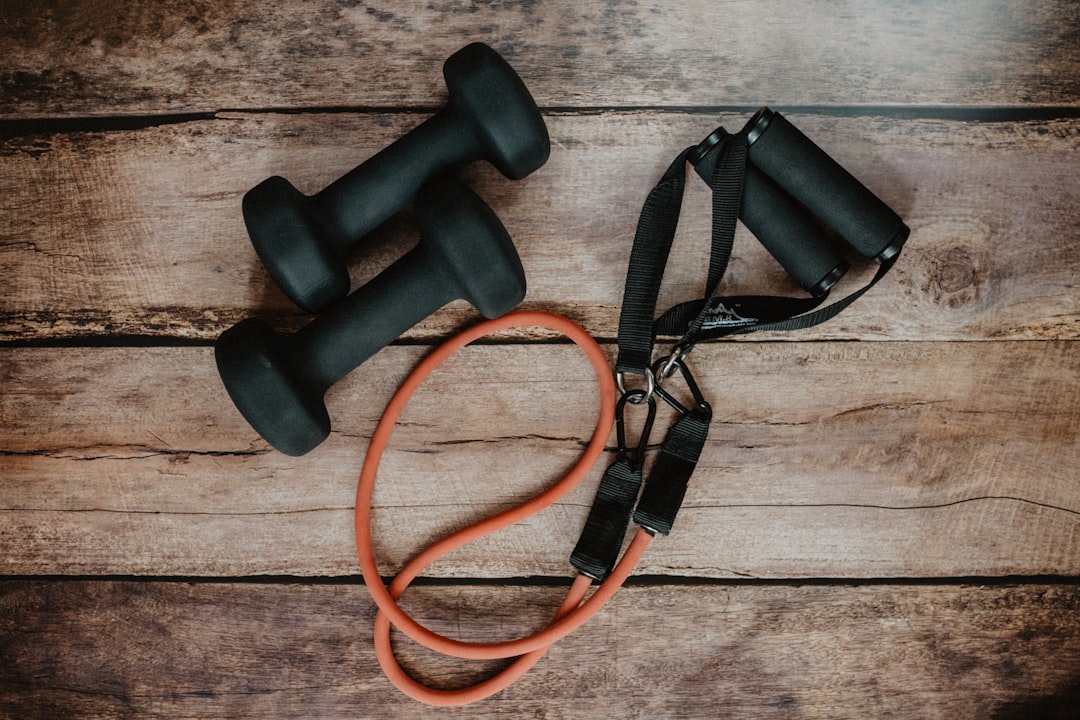
Create an effective resistance bands home gym with expert buying tips, workouts, setup ideas, and safety guidance for full-body fitness at home every week.
A resistance bands home gym can turn a spare bedroom, apartment corner, hotel room, or backyard into a practical place to train. Unlike bulky machines, bands are affordable, portable, and capable of supporting strength training, mobility work, rehabilitation-style movements, and challenging full-body workouts. The key is choosing the right band style, using safe anchors, and following a progressive routine instead of randomly pulling on elastic tubing. Whether your goal is to build muscle, improve pull-up strength, protect your joints, or stay consistent when you cannot reach a commercial gym, resistance bands provide remarkable versatility. This guide explains how to build a useful setup, what accessories are worth buying, how to train every major muscle group, and how to avoid common safety mistakes. By the end, you will know exactly how to create a compact training space that fits your budget, your fitness level, and your available room.
Why Build a Resistance Bands Home Gym?
A resistance bands home gym is an excellent solution for people who want flexible training without the cost, commute, or floor space of traditional equipment. Bands create resistance through tension, so exercises become harder as the band stretches. This resistance curve works especially well for movements such as rows, presses, glute bridges, lateral raises, and triceps extensions.
For beginners, bands can make bodyweight exercises easier. For example, a long band can assist pull-ups, push-ups, and dips. For experienced lifters, they can add challenge to dumbbell or barbell movements, increase time under tension, or provide a demanding standalone workout. They are also low impact, making them a useful option for people who want to train around minor joint sensitivity.
The biggest advantage is consistency. When your equipment is visible and ready to use, a 20-minute workout is much easier to start. A basic setup can fit inside a drawer, while a more complete system can cover pushing, pulling, squatting, hinging, core training, and mobility work. Look for durable materials, clearly labeled resistance levels, and accessories that match the exercises you actually plan to perform.
Remember that bands are not magic; results still require progressive overload. Increase band tension, use a thicker band, add repetitions, slow the lowering phase, shorten rest periods, or improve your range of motion over time. Those simple adjustments can keep home training productive for months.
Essential Equipment for a Complete Band Setup
You do not need to buy every accessory at once. Start with a versatile collection, then add pieces as your routine develops. The most useful foundation is an adjustable resistance band set with several tension levels. Tube bands with handles are convenient for presses, curls, rows, and fly variations, while flat therapy bands are useful for warm-ups, rehab exercises, and controlled mobility work.
For lower-body training and activation drills, add loop resistance bands. Small fabric or latex loops work well for glute bridges, clamshells, squats, lateral walks, and hip-abduction exercises. Longer pull-up assistance bands are especially versatile because they can be attached to a sturdy anchor, used for rows, or added to bodyweight movements.
- door anchor: Lets you create high, middle, and low anchor points for pulldowns, rows, chest presses, and leg exercises.
- Handles: Provide a more comfortable grip for upper-body movements.
- Ankle straps: Expand your options for kickbacks, hamstring curls, hip flexion, and abduction.
- Exercise mat: Improves comfort and stability for floor work.
- Wall or ceiling anchor: A more permanent option for dedicated training spaces when professionally and safely installed.
Before purchasing, check the listed resistance range and read how the brand measures tension. Band resistance is not always standardized, and a “heavy” band from one brand may feel different from another. If you are unsure, choose a kit with multiple levels rather than one maximum-resistance band. You can check the price of a complete kit and compare included accessories before deciding.
How to Set Up Resistance Bands Safely at Home
Safe setup matters more than finding the most intense band. Inspect every band before each session for cracks, thinning, frayed fabric, damaged carabiners, loose handles, or worn connection points. Replace any band that shows visible damage. Elastic materials can snap under tension, especially after prolonged exposure to sunlight, heat, moisture, or rough surfaces.
A door anchor should always be placed on the hinge side of a closed door, not the side that opens toward you. Close and lock the door when possible, then pull lightly on the band before beginning an exercise. This reduces the chance of the door opening unexpectedly. Never attach bands to lightweight furniture, unstable railings, sharp edges, or objects that could slide or tip.
Position yourself so the band is aligned with the intended movement. For a chest press, the anchor should sit behind your chest. For rows, it should be in front of you. Keep your face away from the direct line of a highly stretched band, especially while learning a movement. Use controlled repetitions instead of allowing the band to recoil quickly.
Choose resistance that lets you maintain good form. You should usually finish a working set with one to three challenging repetitions still possible. If your shoulders rise, your back rounds, the anchor shifts, or you have to jerk the band into position, reduce tension or adjust your setup. Quality movement produces better results than simply using the heaviest band.
Full-Body Resistance Band Workout for Home
This simple routine trains the major movement patterns and works well two to four times per week. Begin with five minutes of light movement, such as marching, arm circles, bodyweight squats, and easy band pull-aparts. Complete two or three rounds, resting 45 to 75 seconds between exercises as needed.
- Banded squat: Stand on a long band and hold the ends at shoulder height. Perform 10 to 15 controlled repetitions.
- Standing chest press: Anchor the band behind you at chest height. Press forward for 8 to 15 repetitions.
- Seated or standing row: Anchor the band in front of you and pull your elbows toward your ribs. Complete 10 to 15 repetitions.
- Romanian deadlift: Stand on the band, hinge at the hips, and stand tall while squeezing your glutes. Perform 10 to 15 repetitions.
- Overhead press: Stand on the band and press the handles overhead for 8 to 12 repetitions.
- Lateral band walk: Place loop resistance bands above your knees or around your ankles. Take 10 to 15 controlled steps in each direction.
- Pallof press: Anchor the band at chest height to one side. Press straight forward while resisting rotation for 8 to 12 repetitions per side.
To progress, first improve technique and range of motion. Then add repetitions until you reach the top of the suggested range. After that, choose a stronger band, step farther from the anchor, or slow each lowering phase to three seconds. Keep a simple workout log so your training becomes intentionally more challenging over time.
Choosing the Best Resistance Bands for Your Goals
The best resistance bands for home workouts depend on your training style. Tube bands with handles feel familiar for people who enjoy machine-like exercises. They are convenient for pressing, curling, rowing, and shoulder work, especially when a kit includes handles, ankle straps, and a door attachment. However, inspect carabiners and connection points regularly because those areas receive repeated stress.
Long layered latex bands are often the most versatile choice for strength-focused training. They can assist pull-ups, create heavy rows, add resistance to squats, and support mobility drills. Their continuous loop design has fewer separate parts, but they may be less comfortable to grip directly without handles or gloves.
Fabric mini bands are a strong choice for lower-body activation because they tend to stay in place and do not roll as easily. Flat therapy bands are ideal for lower-resistance shoulder work, physical-therapy-style drills, and warm-ups. Many home exercisers benefit from owning a combination of long bands and mini bands rather than relying on one type alone.
When reviewing an Amazon listing, look beyond the headline resistance number. Check customer feedback for durability, band length, included accessories, instructions, and the stated warranty. An adjustable resistance band set that provides a meaningful spread from light to heavy tension is usually more useful than a cheap kit containing several nearly identical bands. As an Amazon Associate, this site may earn from qualifying purchases, at no extra cost to you.
FAQ
- Can resistance bands build muscle at home?
- Yes. Resistance bands can build muscle when you train close to muscular fatigue, use a full range of motion, and gradually increase difficulty. Progress by using stronger bands, adding repetitions, increasing sets, slowing the eccentric phase, or creating more starting tension. A balanced routine should include pushes, pulls, squats, hinges, and core work.
- What resistance level should beginners use?
- Beginners should start with light to medium resistance that allows controlled sets of roughly 10 to 15 repetitions. The final few repetitions should feel challenging without changing your posture or forcing you to jerk the band. A multi-level kit is preferable because different exercises and muscle groups require different amounts of tension.
- Are door anchors safe for resistance bands?
- Door anchors can be safe when used correctly. Attach the anchor on the hinge side of a closed, sturdy door, lock it if possible, and test it with gentle tension before each set. Do not use damaged doors, unstable frames, glass doors, or doors that someone could unexpectedly open from the other side.
- How often should I do a resistance band workout?
- Most people can perform a full-body resistance band workout two to four times weekly, with at least one recovery day between hard sessions for the same muscles. Mobility and light activation work can be done more often. Adjust frequency based on soreness, sleep, training experience, and whether you also lift weights or play sports.
Conclusion
A resistance bands home gym is one of the most practical ways to train consistently without dedicating an entire room to fitness equipment. With long bands, mini bands, handles, and a reliable anchor, you can create effective workouts for strength, muscle, mobility, and conditioning in a remarkably small space. Focus on safe setup first, choose several resistance levels, and build your routine around fundamental movements such as squats, presses, rows, hinges, and core stability exercises. Then make steady progress by adding tension, repetitions, control, or training volume. You do not need an expensive machine-filled gym to make meaningful improvements; you need equipment you will use regularly and a plan you can follow. If you are ready to begin, compare a quality adjustable resistance band set, confirm that it includes the accessories you need, and check the price before building your ideal compact workout space.
— Enjoyed this? Pass it on
— Want to build your own?
Publish articles like this in 90 seconds.
The whole terminal — AI writer, PA-API sync, refresh radar, auto-tweets — free for the first 3 articles.
Try for free